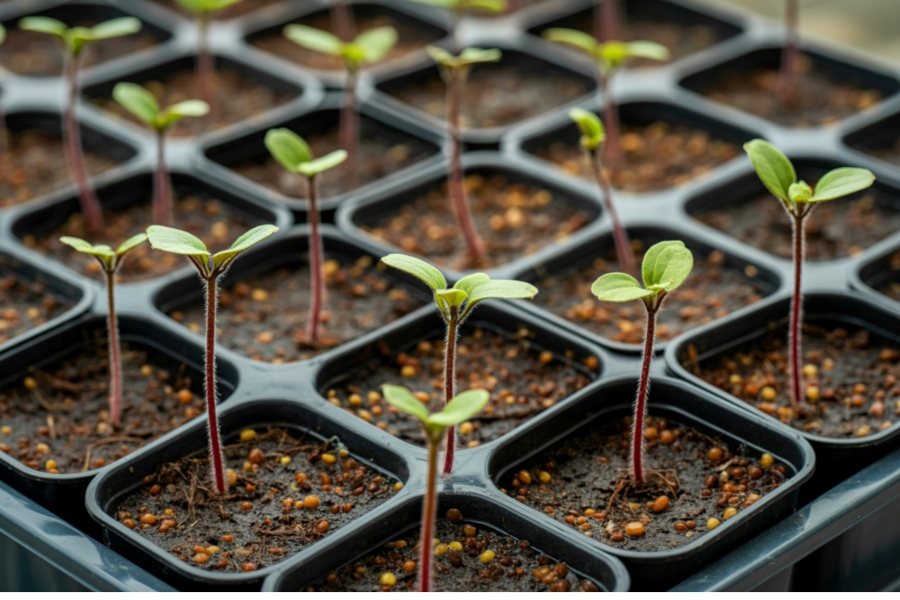
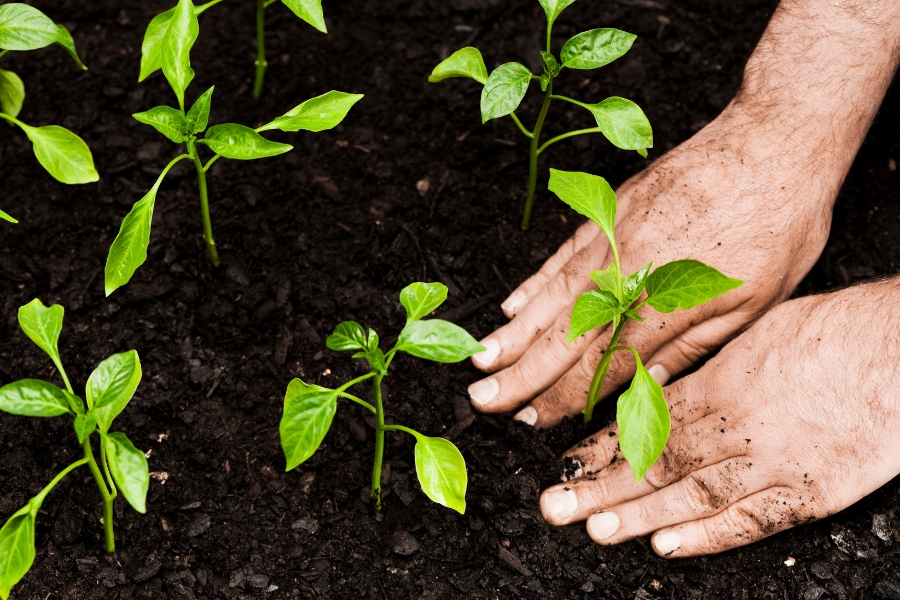
As spring approaches, gardeners begin planning what they want to plant and when. Often, they starting seeds indoors rather than outside. Usually, seeds are planted in trays or small cups and nurtured into seedlings before being transplanted outdoors once the danger of frost has passed.
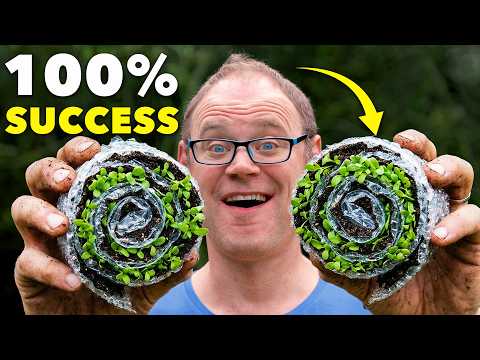
Seed starts require space, though, and not everyone has it in abundance. That’s why a “revolutionary” method of starting seeds using recycled packaging materials has people excited. Using the “seed snail” or “seed sushi” method, you can grow far more seedlings in a much smaller area than with traditional trays or cups.
When you start seeds, they need to be spaced far enough apart that their roots don’t get entangled, which is why traditional seed starter trays have small compartments. The seed snail keeps seedlings’ roots separate while allowing them to grow in a compact space.
Benedict Vanheems, author of GrowVeg: The Beginner’s Guide to Easy Vegetable Gardening, demonstrates how to make the seed snail using different kinds of packaging materials. However, he says bubble wrap is his “absolute favorite.”
“This, with its air pockets, helps to create a slightly sturdier roll so it sits firmer,” Vanheems says in a YouTube clip. “And the air pockets will also help to insulate the roots from swings in temperature, which our seedlings will much prefer. Bubble wrap is flexible, retains moisture well, and can be reused time and again.”
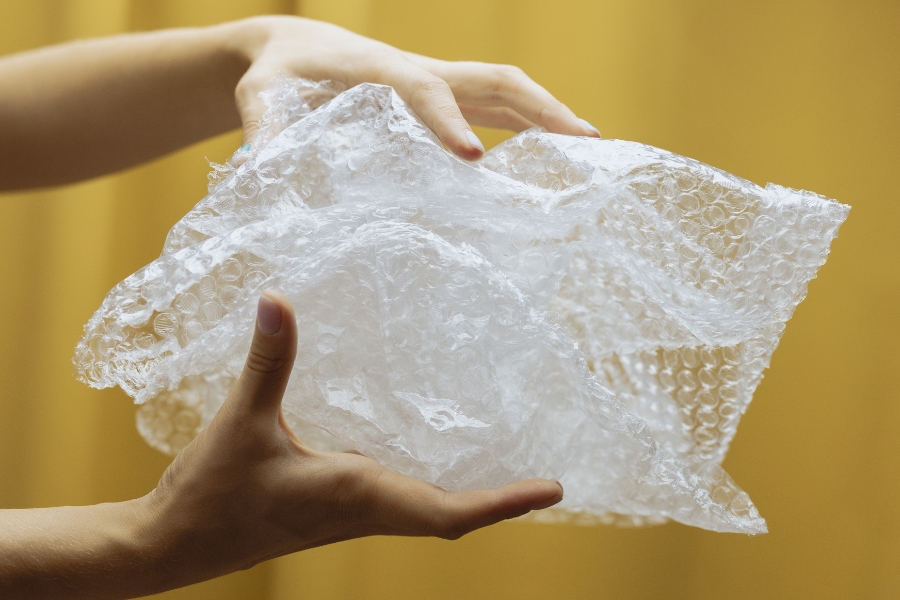
However, he acknowledges concerns people may have about microplastics and offers a solution. First, he cuts the bubble wrap into long strips about three inches wide. Next, he cuts a strip of baking parchment twice as wide. He then folds the parchment in half and wraps it over both sides of the bubble wrap. This ensures the soil never touches the plastic while still providing the temperature-regulation benefits of the bubble wrap.
Vanheems adds water to the potting mix to make it very moist. Depending on the size of the seeds you plan to use, you’ll cover the strip of packaging with between 1/2 inch and 2 inches of soil. Pat the soil down fairly firmly, and leave an inch or two uncovered at the end.
After you roll up the “snail,” use painter’s or masking tape to secure it. Then it’s ready for you to add your seeds according to the individual seed instructions. Vanheems doesn’t recommend sowing the seeds before rolling, as they can get moved around and dislodged. He also gives tips for retaining moisture in the snail rolls, from misting or light watering to keeping them covered with clear plastic.
Vanheems showed what the seedlings looked like once they had developed roots and shoots. This method allows long, deep roots to grow, making it easy to separate the plants after unrolling the snail.
Some seedlings may need more soil added to the roll once their roots begin to grow. Simply unroll the snail, sprinkle more soil over the roots, and reroll. Easy peasy. The main thing to watch with the snail is that it stays moist, since it uses less soil per seedling than traditional trays.
Both amateurs and pros are loving the idea in the YouTube video comments:
“Your method is a LOT cheaper than buying these expensive plastic containers in the DIY garden market that barely survive one year in the garden. I surely will give it a try. Thank you!”
“I just ran across these a few days ago and I’ve already got a bunch of them going! This is going to be a game changer! I’m using disposable shower caps to cover the ones that need it – they’re infinitely reusable as long as you don’t break the elastic.”
“I tried this ‘seed snail’ method with my Sweet Peas last week and I’m officially a convert! The vertical root growth is incredible, but the real win for me was the space saving—I fit twice as many under my grow lights than I usually do. If you’re tight on indoor space, this is a total game-changer. Great tutorial!”
“I’ve been wondering how to go about growing a large number of native plant plugs without having to buy more plastic. Using this technique I’m going to stretch my supplies to grow even more seeds in a single season. Thank you so much for the tip. You weren’t kidding when you said it would change the way you do things. I’m officially converted.”
“A little advice from an old nurseryman, when handling tiny seedlings, it is much safer to handle them by their leaves, not the stems. Even a finger can damage a very sensitive seedling stem and can cause damping off that will kill the seedling. The seed snail idea is brilliant and I will start using it myself. It has several advantages but the best for me is the unrolling and the easy removal of the seedlings without damage to their root systems. Thank you!”
You can follow GrowVeg on YouTube for more cool gardening tips.